
Your esim activation on Android should be simple — but unlike iPhone, Android menus vary by manufacturer, which trips up many travelers. While Airalo has an iPhone-specific guide, there's no dominant Android activation resource from any major provider. This guide fills that gap. Whether you're setting up an international eSIM on a Samsung Galaxy S24 or activating a travel eSIM on a Google Pixel 8, here's the complete walkthrough for Android users. It's the best eSIM setup resource for Android travelers who want mobile data abroad without the guesswork — and a comprehensive esim guide for travel connectivity.
Before You Begin: Android Pre-Activation Checklist
Before starting the esim activation process, make sure your Android device is ready.
1. Check If Your Device Supports eSIM
Not all Android phones support eSIM. Here's how to check:
- Dial *#06# — if an EID number appears (a 32-digit code), your device supports eSIM. No EID = no eSIM support.
- Check Settings: Go to Settings → Network & Internet → SIMs. If you see "Add a SIM" or "Download a SIM," your device supports eSIM.
- Check our list: Visit our supported devices page for the full compatibility list.
2. eSIM-Compatible Android Devices by Brand
- Samsung Galaxy: S20 series and newer (S20, S21, S22, S23, S24 — all variants including Ultra), Z Fold 2+ (Fold 3, 4, 5), Z Flip 3+ (Flip 4, 5, 6). Note: Galaxy A-series typically does not support eSIM.
- Google Pixel: Pixel 3 and newer (3a, 4, 4a, 5, 5a, 6, 6a, 6 Pro, 7, 7a, 7 Pro, 8, 8 Pro, 9 series). All Pixel models from 3+ support eSIM.
- Motorola: Motorola Edge+ (2022+), Motorola Razr (2019+). Limited eSIM support — check *#06# for EID.
- OnePlus: OnePlus 11, 12. eSIM support is recent and limited to flagship models.
- Xiaomi: Xiaomi 13T, 13T Pro, 14 series. eSIM support is new and limited.
- Foldables: Samsung Z Fold/Flip series (full eSIM support), Huawei Mate X series (limited).
3. Update Your Android OS
- Android 12+ recommended for eSIM support.
- Android 13+ required for eSIM transfer between devices.
- Android 14+ adds carrier app-based activation for some providers.
- Update via Settings → System → System update. Samsung: Settings → Software update. Pixel: Settings → System → System update.
4. Remove Carrier Lock
If your phone was purchased on installment from a carrier (common with Samsung devices from US carriers), it may be carrier-locked — meaning you can't install a third-party eSIM. Contact your carrier to unlock. Most carriers will unlock for free if the device is paid off. This is the esim vs physical sim difference that trips up many users — a locked phone blocks both.
5. Have Your QR Code Ready and Connect to WiFi
After purchasing cheap eSIM plans from iWanteSIM, you'll receive a QR code by email. Open it on a laptop or tablet. Connect your phone to WiFi — you need internet to download the eSIM profile. Browse all eSIM plans to find the right option for your trip.
eSIM Activation on Samsung Galaxy: Step-by-Step
Samsung Galaxy is the most popular Android brand globally, and its eSIM activation flow depends on your One UI version. Here's the walkthrough for One UI 5.0 and 6.0 (Galaxy S21+ and newer).
Method 1: QR Code Scanning (Samsung)
- Open Settings → Connections → SIM manager (on One UI 5.0+) or Settings → Network & Internet → SIMs (on older One UI versions).
- Tap "Add eSIM" — it appears as a button with a + icon at the top of the SIM manager screen.
- Tap "Scan QR code" and point your Galaxy's camera at the QR code on your laptop screen.
- Wait for the profile to download — you'll see a progress bar. This takes 10–30 seconds depending on WiFi speed.
- Name your eSIM (e.g., "Travel eSIM" or "iWanteSIM").
- Tap "Done" — the profile installs and appears in your SIM manager.
- Go to Settings → Connections → Mobile Networks → [your eSIM] → turn on Data Roaming.
Method 2: Manual SM-DP+ Entry (Samsung)
- Go to Settings → Connections → SIM manager → Add eSIM.
- Tap "Enter activation code manually" at the bottom of the screen.
- Enter the SM-DP+ address from your activation email (looks like: smdp.iwantesim.com).
- Enter the activation code — a long string of characters.
- Tap "Activate" — the profile downloads and installs.
- Enable Data Roaming in Mobile Networks settings.
Samsung-Specific Quirks
- Galaxy A-series: Most A-series models (A54, A34, etc.) do not support eSIM. Only S-series, Z Fold, and Z Flip have eSIM.
- Dual-SIM: Galaxy S-series supports one physical SIM + one eSIM simultaneously. Some regional variants (dual-SIM models) support two physical SIMs + one eSIM.
- eSIM menu location: On One UI 6.0 (S24 series), the menu moved slightly — it's now under Settings → Connections → SIM manager, not Network & Internet.
eSIM Activation on Google Pixel: Step-by-Step
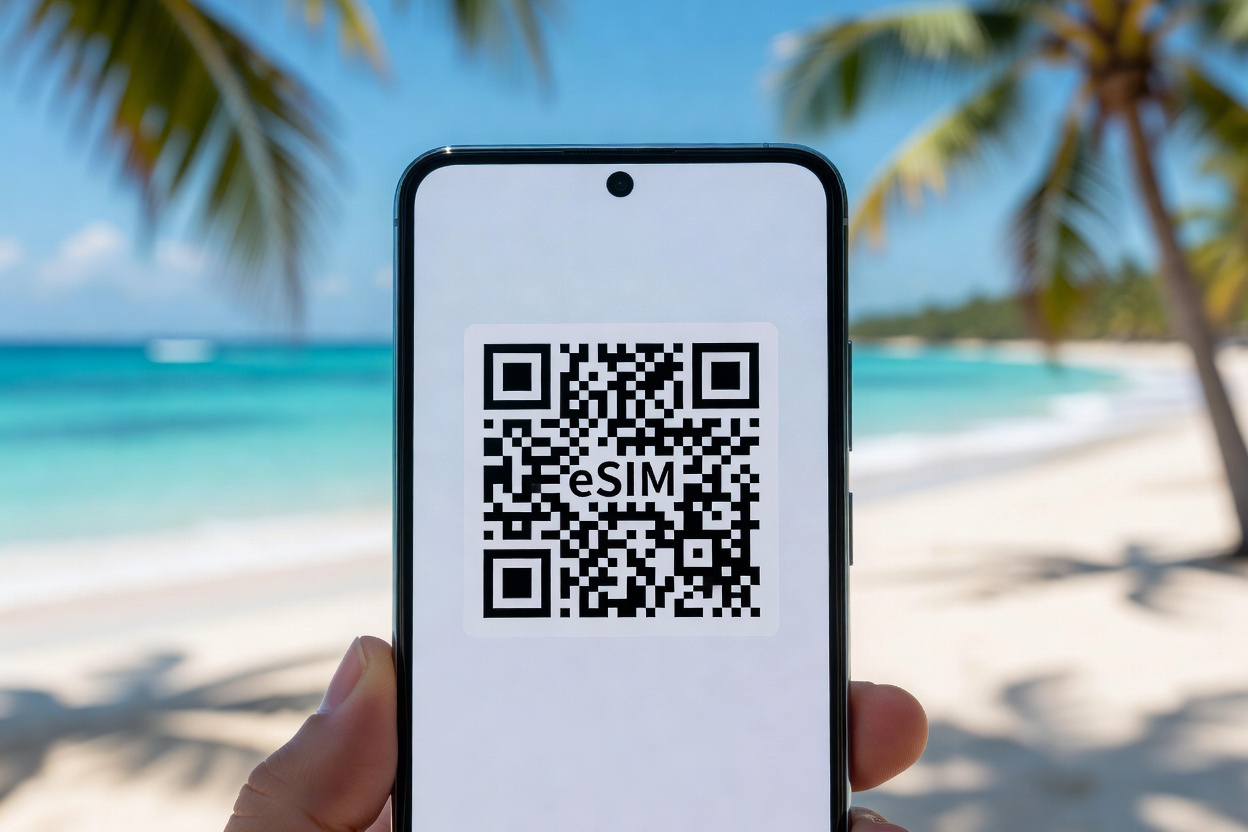
Google Pixel has the cleanest Android eSIM experience — it's built into stock Android with no manufacturer overlay.
Method 1: QR Code Scanning (Pixel)
- Go to Settings → Network & Internet → SIMs.
- Tap "Add a SIM" at the bottom of the screen.
- Tap "Download a SIM instead" when prompted.
- Point your Pixel's camera at the QR code on your screen.
- Wait for profile download (10–30 seconds). A progress bar appears at the bottom.
- Name your eSIM and tap "Done."
- Go to Settings → Network & Internet → SIMs → [your eSIM] → toggle Data Roaming ON.
Method 2: Manual Entry (Pixel)
- Go to Settings → Network & Internet → SIMs → Add a SIM.
- Tap "Need help? Try manual entry" at the bottom.
- Enter the SM-DP+ address from your activation email.
- Enter the activation code string.
- Tap "Activate" — the profile downloads and installs.
- Enable Data Roaming in SIM settings.
Pixel eSIM Transfer Tool
Pixel 2+ to Pixel 8+ supports eSIM transfer between devices. When setting up a new Pixel, the setup wizard detects eSIM profiles on your old device and offers to transfer them. This requires both devices to be on the same WiFi network with Bluetooth enabled. This is the easiest esim activation method for Pixel upgraders.
Pixel-Specific Features
- Quick Settings toggle: Pixel shows an eSIM toggle in the Quick Settings panel — swipe down from the top to enable/disable your eSIM line without diving into Settings.
- Data switching: Pixel supports automatic data switching between SIMs — if your primary SIM loses signal, data switches to your eSIM automatically (toggle in SIM settings).
eSIM Activation on Motorola, OnePlus, and Other Brands
Other Android brands follow the standard Android eSIM flow but may have quirks:
- Motorola Edge+: Settings → Network & Internet → SIMs → Add a SIM. Follow the standard QR scan or manual entry flow. Some Motorola models require a carrier app for activation — check your provider's instructions.
- OnePlus 11/12: Settings → Mobile Network → SIM management → Add eSIM. OnePlus eSIM support is recent — make sure you're on the latest OxygenOS update.
- Xiaomi 13T/14: Settings → Network & Internet → SIM cards → Add eSIM. Xiaomi's MIUI/HyperOS overlay may hide the eSIM menu — if you don't see "Add eSIM," dial *#06# to confirm EID support first.
If your brand isn't listed, the general path is: Settings → Network & Internet → SIMs → Add a SIM → scan QR or enter manually. Android 12+ standardizes this across most brands.
Android eSIM Troubleshooting: Symptom → Cause → Fix
QR Code Won't Scan on Samsung
- Symptom: Camera doesn't detect QR code or scan fails.
- Cause: Screen glare, low brightness, QR code too small.
- Fix: Increase screen brightness to 100%, zoom in on the QR code, hold phone 6–8 inches away. If it still won't scan, use manual SM-DP+ entry instead.
"eSIM Not Supported" Error
- Symptom: Error message saying eSIM is not supported on this device.
- Cause: Device is carrier-locked, missing EID (no eSIM hardware), or Android version is too old.
- Fix: Dial *#06# to check for EID. If no EID appears, your device doesn't have eSIM hardware. If EID appears, check for carrier lock (contact your carrier) and update Android to 12+.
Stuck on "Activating..."
- Symptom: Profile downloaded but phone shows "Activating..." for more than 5 minutes.
- Cause: Google Play Services eSIM component may have crashed, or network provisioning is slow.
- Fix: Toggle Airplane Mode on for 10 seconds, then off. Go to Settings → Apps → Google Play Services → Storage → Clear Cache. Restart your phone. If still stuck, update Android to the latest version.
SIM Toolkit Crash
- Symptom: SIM Toolkit app crashes when trying to activate.
- Cause: Outdated SIM Toolkit or conflict with existing SIM profiles.
- Fix: Update SIM Toolkit from Google Play. Remove any old eSIM profiles you no longer use (Settings → SIMs → [old profile] → Remove). Restart and try again.
"No Service" After Activation
- Symptom: eSIM installed but shows "No Service" or "Emergency calls only."
- Cause: Data Roaming not enabled, or phone hasn't connected to a local carrier.
- Fix: Enable Data Roaming (Settings → SIMs → [eSIM] → Roaming ON). Toggle Airplane Mode. If still no service, go to Settings → Mobile Network → Carrier → turn off "Auto" → select a carrier manually.
What to Do If It Doesn't Connect

No Signal After Successful Activation
Try manual carrier selection: Settings → Mobile Network → Carrier → turn off "Auto" → select a network from the list. This forces your phone to connect to a specific carrier rather than waiting for automatic detection. This is essential for roaming — your travel data depends on it.
Data Works But Calls Don't
Most travel eSIMs are data-only — no voice calls. Use WhatsApp, FaceTime, or Skype for calls over data. If your plan includes calls, check that VoLTE (Voice over LTE) is enabled: Settings → Mobile Network → VoLTE calls → ON. Some Samsung models hide this under Settings → Connections → Mobile Networks → VoLTE.
APN Misconfiguration
If data connects but is unreliable or apps don't work, your APN (Access Point Name) may be wrong. Check your eSIM provider's APN settings and add them manually: Settings → Mobile Network → Access Point Names → Add APN. Enter the APN name and APN from your provider's setup email. This is a common roaming issue — the APN tells your phone how to route mobile data abroad.
Complete Connection Failure
- Toggle Airplane Mode on/off (10 seconds).
- Restart your phone.
- Go to Settings → SIMs → [eSIM] → Remove profile, then re-scan the QR code to reinstall.
- Try manual carrier selection.
- Check APN settings against your provider's instructions.
- Contact iWanteSIM support via our FAQ page for a replacement QR code.
FAQ: Android eSIM Activation Questions
Can I use eSIM on Samsung A-series?
Most Samsung Galaxy A-series models (A54, A34, A14, etc.) do not support eSIM. Only S-series (S20+), Z Fold (2+), and Z Flip (3+) have eSIM hardware. Dial *#06# to confirm — if no EID appears, your A-series phone doesn't support eSIM.
Does eSIM work on rooted Android devices?
eSIM may not work reliably on rooted devices. Rooting can break the Google Play Services eSIM component and compromise the secure element that stores eSIM profiles. If you've rooted your phone, you may need to unroot (flash stock firmware) before eSIM activation will work.
Can I transfer eSIM between Pixels?
Yes. Pixel 2+ to Pixel 8+ supports eSIM transfer during device setup. When setting up your new Pixel, the setup wizard detects eSIM profiles on your old device and offers to transfer them over WiFi + Bluetooth. Both devices must be powered on and on the same network.
What if my Samsung is carrier-locked?
If your Samsung is carrier-locked (common with devices from US carriers like AT&T, Verizon, T-Mobile), you cannot install a third-party eSIM. Contact your carrier to request an unlock — they're required to unlock paid-off devices for free in the US. Once unlocked, eSIM activation works normally.
Does OnePlus support eSIM?
OnePlus 11 and 12 support eSIM. Older OnePlus models (10, 9, 8 and earlier) do not. Make sure you're on the latest OxygenOS update. The activation path is Settings → Mobile Network → SIM management → Add eSIM.
Can I have multiple eSIMs on Android?
Yes, most Android phones support multiple installed eSIM profiles but only one active at a time. You can install several profiles and switch between them in Settings → SIMs. This is useful for travelers visiting multiple regions — install a Europe eSIM and an Asia eSIM, then switch as you cross continents. See our full eSIM activation guide for more details.
How long does Android eSIM activation take?
Installation (QR scan + profile download) takes 30–60 seconds. Full activation (connecting to a carrier) happens within 1–5 minutes of enabling Data Roaming at your destination. In rare cases, provisioning can take up to 15 minutes. See our reviews from Android travelers who've activated in minutes.
The Bottom Line
Android eSIM activation is straightforward once you know your device's menu path — Samsung uses Connections → SIM manager, Pixel uses Network & Internet → SIMs, and other brands follow similar paths. The key steps: check EID with *#06#, install before you travel, enable Data Roaming on arrival, and use the troubleshooting guide if anything goes wrong. Whether you're looking for an Airalo alternative or a Nomad alternative, iWanteSIM makes Android activation simple with QR code delivery by email and no app required. Browse global eSIM plans for 200+ countries, check our eSIM guides for destination-specific advice, and read our Japan eSIM guide or Thailand eSIM guide for country-specific tips. For a full esim comparison across providers, see our iWanteSIM vs. Airalo and iWanteSIM vs. Nomad guides. Avoid roaming charges, enjoy seamless travel connectivity, and get your Android connected before you fly.