Your esim activation should be the easiest part of your trip — not the most stressful. Whether you're setting up an international eSIM for the first time or switching to a new plan, the entire process takes under 5 minutes if you know what to do. This guide walks you through every step for both iPhone and Android, with troubleshooting tips for when things don't go as planned. It's the best eSIM setup resource for travelers who want mobile data abroad without the guesswork — and a complete esim guide for travel connectivity. Let's get you connected with your travel eSIM.
Before You Begin: Pre-Activation Checklist
Before you start the esim activation process, make sure you have everything ready. A smooth setup starts with preparation.
1. Confirm Your Device Is eSIM-Compatible
Most phones from 2020 onward support eSIM, but it's worth checking. Here are popular compatible models:
- iPhone: iPhone XS, XR, XS Max, iPhone 11 (all models), iPhone 12 (all models), iPhone 13 (all models), iPhone 14 (all models), iPhone 15 (all models), iPhone 16 (all models), iPhone SE 2nd gen and newer
- Samsung Galaxy: S20 series and newer (S20, S21, S22, S23, S24, S25), Z Fold 2+, Z Flip 3+
- Google Pixel: Pixel 3 and newer (3a, 4, 4a, 5, 5a, 6, 6a, 7, 7a, 8, 8a, 9)
- Other: Motorola Edge+, OnePlus 11+, Sony Xperia 1 III+
Check the full list on our supported devices page. If you're new to eSIM technology, our What is an eSIM guide explains the basics, including the key esim vs physical sim differences.
2. Update Your Operating System
Before traveling, update your phone to the latest OS version:
- iOS: iOS 14+ required for eSIM. iOS 17+ adds instant eSIM transfer between iPhones. Update via Settings → General → Software Update.
- Android: Android 12+ recommended for best eSIM support. Samsung One UI 4.0+ and Pixel Android 13+ have the smoothest activation flows.
3. Have Your Activation QR Code Ready
After purchasing cheap eSIM plans from iWanteSIM, you'll receive a QR code by email. Have it accessible on a screen (laptop, tablet, or another phone) — you'll need to scan it with the phone you're activating. You can also screenshot it for later use. Browse all eSIM plans to find the right option for your trip.
4. Connect to WiFi
Activation requires an internet connection to download the eSIM profile from the carrier server. Connect to WiFi before starting — you cannot activate an eSIM using cellular data alone (unless you have an active physical SIM with data).
5. Understand: Installation vs Activation
These are two different things. Installation means downloading the eSIM profile to your phone (scanning the QR code). Activation means the profile connects to the carrier network and is ready to use. Installation happens over WiFi; activation happens when you enable data roaming on arrival at your destination. You can install before you travel — the eSIM won't activate or use data until you turn it on at your destination.
eSIM Activation for iPhone: Step-by-Step
iPhone eSIM activation is the most straightforward process in the industry. Here are two methods — QR code scanning (recommended) and manual entry.
Method 1: QR Code Scanning (Recommended)
- Open the Camera app on your iPhone.
- Point it at the QR code on your laptop or tablet screen. Hold steady about 6–8 inches away.
- Tap the notification that appears at the top of your screen — it says "Cellular Plan Detected." If no notification appears, try increasing screen brightness or moving closer.
- Tap "Continue" on the "Add Cellular Plan" screen that opens in Settings.
- Name your eSIM line — something like "Travel eSIM" or "iWanteSIM" so you can identify it later.
- Choose your default line — select your primary SIM for calls/texts and the eSIM for data, or vice versa. You can change this later in Settings → Cellular → Default Voice Line.
- Tap "Done" — the eSIM profile downloads and installs. This takes 10–30 seconds.
- Enable Data Roaming — go to Settings → Cellular → [your eSIM line] → turn on Data Roaming. This is critical for using data abroad.
Your eSIM is now installed. It will activate automatically when you arrive at your destination and connect to a local carrier.
Method 2: Manual Entry (If QR Code Won't Scan)
- Go to Settings → Cellular → Add eSIM (or "Add Cellular Plan" on older iOS).
- Tap "Enter Details Manually" at the bottom of the screen.
- Enter the SM-DP+ address provided in your activation email (looks like: smdp.example.com).
- Enter the activation code — a long string of characters from your email.
- Tap "Next" — the profile downloads and installs.
- Follow steps 5–8 from the QR method above (name the line, choose default, enable roaming).
Dual-SIM Setup After Activation
iPhone supports dual-SIM (one physical SIM + one eSIM, or two eSIMs on iPhone 13+). After activation, you can set which line handles what:
- Settings → Cellular → Default Voice Line: Choose your primary number for calls.
- Settings → Cellular → Cellular Data: Choose your eSIM for data.
- Settings → Cellular → [line name] → Turn On This Line: Toggle each line on/off independently.
This setup lets you keep your home SIM for calls and 2FA while using your travel eSIM for data — the ideal configuration for international travel.
eSIM Activation for Android: Step-by-Step
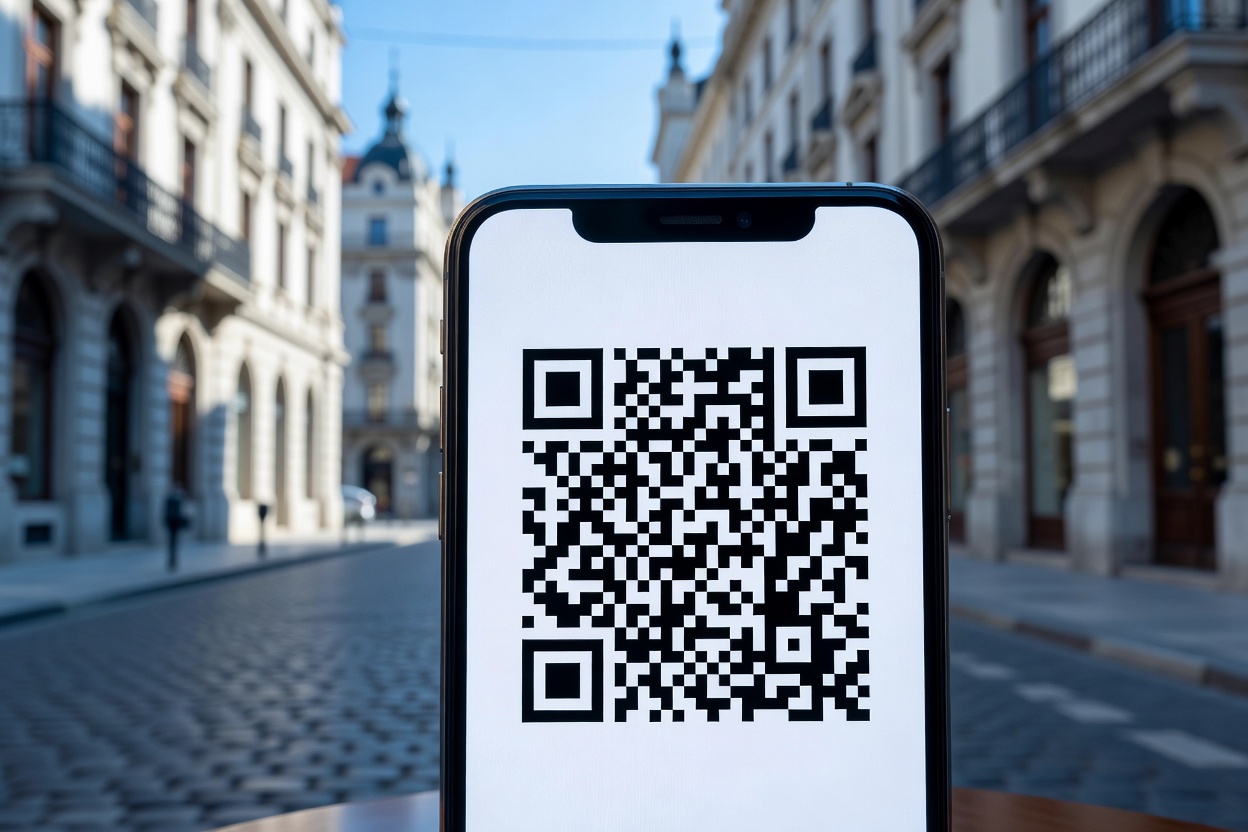
Android activation varies slightly by manufacturer. Here are the paths for Samsung Galaxy and Google Pixel — the two most common eSIM-compatible Android brands.
Method 1: QR Code Scanning (Samsung Galaxy)
- Go to Settings → Connections → SIM manager → Add eSIM (on One UI 5.0+) or Settings → Network & Internet → SIMs → Add a SIM (on Pixel).
- Tap "Scan QR code" and point your camera at the QR code on your screen.
- Wait for the profile to download — you'll see a progress bar. This takes 10–30 seconds.
- Name the eSIM (e.g., "Travel eSIM").
- Tap "Done" or "Activate" — the profile installs.
- Go to Settings → Connections → Mobile Networks → [your eSIM] → turn on Data Roaming.
Method 1: QR Code Scanning (Google Pixel)
- Go to Settings → Network & Internet → SIMs.
- Tap "Add a SIM" → "Download a SIM instead."
- Point camera at the QR code on your screen.
- Wait for profile download (10–30 seconds).
- Name the eSIM and tap "Done."
- Go to Settings → Network & Internet → SIMs → [your eSIM] → toggle Roaming ON.
Method 2: Manual Entry (All Android)
- Go to Settings → Network & Internet → SIMs → Add a SIM.
- Tap "Enter activation code manually" or "Need help? Try manual entry."
- Enter the SM-DP+ address from your activation email.
- Enter the activation code string.
- Tap "Activate" — the profile downloads and installs.
- Enable Data Roaming in SIM settings.
Troubleshooting Common eSIM Activation Errors
Even with a smooth process, things can go wrong. Here's a symptom → likely cause → fix guide for the most common issues:
QR Code Won't Scan
- Symptom: Camera doesn't detect the QR code or no notification appears.
- Likely cause: Screen glare, low brightness, QR code too small, or camera focus issue.
- Fix: Increase screen brightness to 100%, zoom in on the QR code, hold phone 6–8 inches away, try scanning in better lighting. If it still won't scan, use manual entry (SM-DP+ address method) instead.
"No Service" After Activation
- Symptom: eSIM installed successfully but shows "No Service" or "SOS only."
- Likely cause: Data roaming not enabled, or phone hasn't connected to a local carrier yet.
- Fix: Toggle Airplane Mode on for 10 seconds, then off. Go to Settings → Cellular/SIMs → [eSIM] → enable Data Roaming. If still no service, go to carrier selection and choose a network manually instead of automatic.
Activation Code Invalid or Expired
- Symptom: Error message saying activation code is invalid, expired, or already used.
- Likely cause: QR codes typically expire 30–90 days after purchase, or the code was already installed on another device.
- Fix: Contact your eSIM provider for a new QR code. iWanteSIM support can reissue activation codes — reach out via our FAQ page for assistance.
Stuck on "Activating..."
- Symptom: Profile downloaded but phone shows "Activating..." for more than 5 minutes.
- Likely cause: Network connectivity issue during activation, or OS needs updating.
- Fix: Wait 5–15 minutes — some carriers take longer to provision. Toggle Cellular Data off and on. Restart your phone. If still stuck, update iOS/Android to the latest version and try again.
eSIM Not Showing in Settings
- Symptom: No "Add eSIM" or "Add Cellular Plan" option in Settings.
- Likely cause: Device is carrier-locked, or the phone model doesn't support eSIM.
- Fix: Check if your phone is carrier-locked (Settings → General → About → Carrier Lock on iPhone should say "No SIM restrictions"). If locked, contact your carrier to unlock. If not locked, verify your device is eSIM-compatible on our supported devices page.
What to Do If It Doesn't Connect
Sometimes activation succeeds but you still can't get online. Here are the most common post-activation connectivity issues:
No Signal After Successful Activation
Your eSIM profile is installed but no bars appear. Try manual carrier selection: Settings → Cellular/SIMs → [eSIM] → Network Selection → turn off "Automatic" → select a carrier from the list. This forces your phone to connect to a specific network rather than waiting for automatic detection.
Data Works But Calls Don't
This is common with data-only eSIM plans. If your eSIM is data-only (most travel eSIMs are), it doesn't support voice calls. Use messaging apps like WhatsApp, FaceTime, or Skype for calls over data. If your plan includes calls, check that VoLTE (Voice over LTE) is enabled in your cellular settings.
Roaming Not Enabled
If you see signal bars but no data, check that Data Roaming is ON for your eSIM line. On iPhone: Settings → Cellular → [eSIM] → Data Roaming. On Android: Settings → SIMs → [eSIM] → Roaming. Without this toggle on, your eSIM won't use data on foreign networks — even though it's activated. This is your roaming setting and it's essential for travel data.
Slow Speeds
If data works but is slow, possible causes: carrier throttling (some plans cap speeds after a data threshold), fair-use policy on unlimited plans, network congestion in tourist areas, or you're on 3G instead of 4G/5G. Check your signal indicator — if it shows 3G or E, try toggling Airplane Mode to force a 4G/5G reconnect.
Complete Connection Failure
If nothing works — no signal, no data, no calls — try these steps in order:
- Toggle Airplane Mode on/off (10 seconds).
- Restart your phone.
- Delete the eSIM profile and reinstall from the QR code (Settings → Cellular/SIMs → [eSIM] → Delete/Remove, then re-scan QR).
- Try manual carrier selection.
- Contact iWanteSIM support for a replacement QR code or troubleshooting assistance.
FAQ: eSIM Activation Questions
Can I activate my eSIM before traveling?
Yes — and you should. Install the eSIM profile at home over WiFi before you fly. The eSIM won't activate or use data until you enable Data Roaming at your destination. This means you can set everything up in advance and simply toggle it on when you land. See our full eSIM activation guide for more details.
Do I need WiFi to activate an eSIM?
You need internet to download the eSIM profile (installation), but not to activate it. Use WiFi or your existing cellular data to install the profile. Once installed, the eSIM activates when you arrive at your destination and enable Data Roaming — no WiFi needed for that step.
Can I have multiple eSIMs on my phone?
Yes. iPhone 13+ supports two active eSIMs simultaneously. Most Android phones support multiple installed eSIM profiles but only one active at a time. You can install several eSIM profiles and switch between them in Settings — useful for travelers visiting multiple countries with different regional plans like Europe eSIM or Asia eSIM.
Will activating an eSIM delete my physical SIM?
No. Installing an eSIM does not affect your physical SIM card. Both can coexist — your physical SIM stays active for calls and texts, while the eSIM handles data. This dual-SIM setup is the recommended configuration for international travelers.
What if my QR code has expired?
Contact your eSIM provider for a new QR code. iWanteSIM can reissue activation codes — reach out via our FAQ page. QR codes typically expire 30–90 days after purchase, so install your eSIM promptly after buying.
Can I use eSIM on a carrier-locked phone?
No. If your phone is carrier-locked (common with phones purchased on installment plans from US carriers), you cannot install a third-party eSIM. Check Settings → General → About → Carrier Lock (iPhone) or contact your carrier to verify. You'll need to unlock your phone first — most carriers will do this for free if the device is paid off.
How long does eSIM activation take?
The installation (QR code scan + profile download) takes 30–60 seconds. Full activation (connecting to a carrier network) happens within 1–5 minutes of enabling Data Roaming at your destination. In rare cases, carrier provisioning can take up to 15 minutes. See our reviews from travelers who've activated in minutes.
The Bottom Line
eSIM activation doesn't need to be complicated. With the right preparation — a compatible phone, updated OS, QR code ready, and WiFi connected — you can install and activate your eSIM in under 5 minutes. The key steps: install before you travel, enable Data Roaming on arrival, and use the troubleshooting guide above if anything goes wrong. Whether you're comparing providers in an esim comparison or looking for an Airalo alternative or Nomad alternative, iWanteSIM makes activation simple with QR code delivery by email and no app required. Browse global eSIM plans for 200+ countries, check our eSIM guides for destination-specific advice, and read our Japan eSIM guide or Thailand eSIM guide for country-specific setup tips. Avoid roaming charges, enjoy seamless travel connectivity, and get connected before you fly.